Pages

Thursday, December 15, 2011

I LOVE days like this...

Ruby has gone to her nana's for a holiday all by herself until we get there for christmas.  She is having the time of her life...and so am I !! 

It's just me and Marlise home all day until Daddy gets home after work, so we have plenty of time to do stuff together, just me and my baby.  Life is so much easier with just us two, and today was one of those perfect days...one of those days where you have lots of things you want to do, and you find time to do them all..and more !


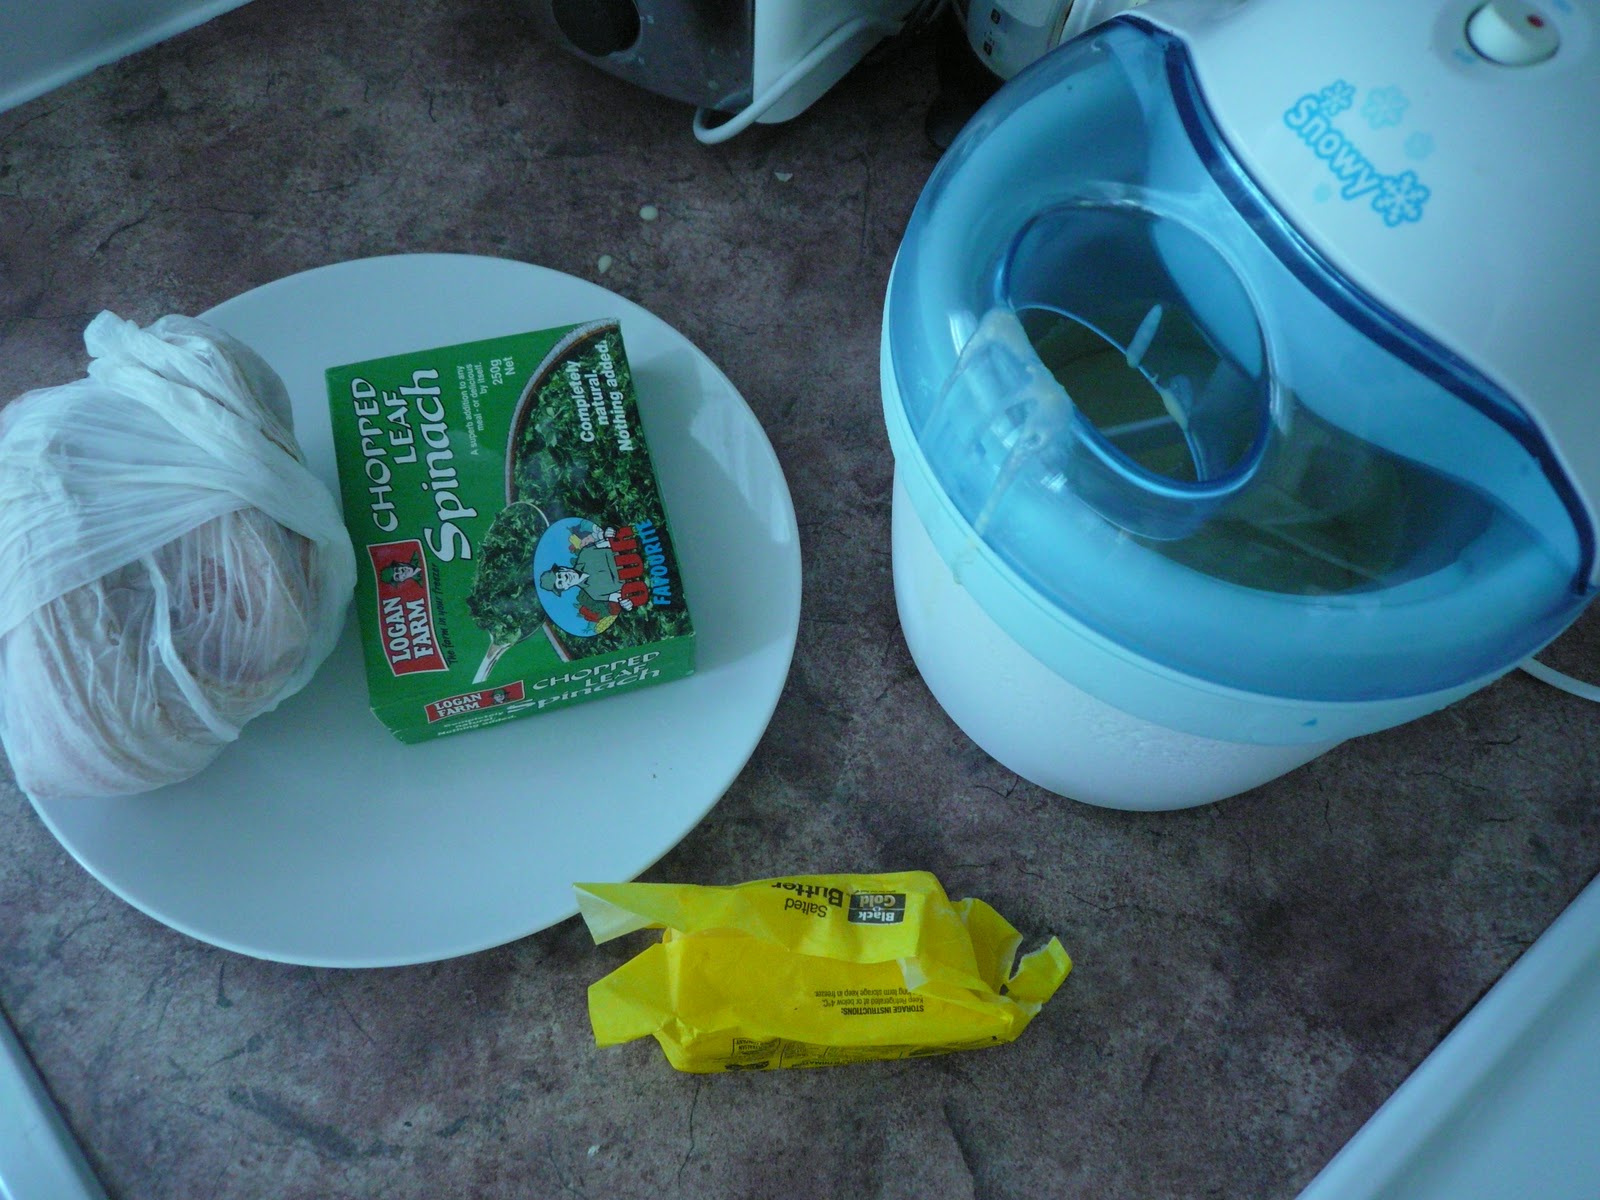
On the menu today...bacon and spinach out to defrost to make quiche for dinner, butter out to soften for an orange cake , and buttermilk ice-cream churning - to go with the cake of course !


Ice-cream tastes best when you get to lick the bowl!


First  job for the morning was the orange cake. 
She looks like she's busy mixing, but really, she's busy sticking her fingers into the bowl.  Note the evidence on her fingers on both hands !


What?  No !  Nothing on my fingers mum...(such a beautiful innocent face - she can get away with anything).


Not long after, the cake was in the oven, and we had a visitor.  Ruby's little friend  came over to play with Marlise !  She decided the house needed a clean - no offense taken !!  So she cleaned up the lounge, picked up all the toys, wiped down the play kitchen and all the cups and plates...Katie, you can come over anytime !!!


So Katie cleaned and tidied and Marlise untidied, but they were both occupied, so I decided to make some hula hoops.
A while ago, I made  hula hoops for Ruby and Marlise using the instructions found here at Hinterland Mama.  Ruby and her friends have had so much fun with them, they really are a cheap and versatile toy - and I love that it keeps the kids active.  Anyway, the girl next door asked me ages ago if I would make one for her, and since I had enough materials left over, I told her I would...one day....today was that day.  We made a few more hula hoops, and Katie helped.


Here's Katie decorating the hula hoop with coloured tape - a good exercise for little hands.


..and here she is showing her style !!  She really enjoyed making the hula hoops, and ended up making one for herself too.


Here's our pile of hula hoops.  We ran out of tape so had to run to the shop for more...don't know why Marlise was so upset - maybe coz there were no pink ones???


But never mind, chocolate cake and ice-cream chased away the tears...it's healthy if it's home-made right?


mmmmm....so good, orange cake with chocolate icing = a jaffa cake ! 


PARCEL POST...I love getting parcel post, and today was a real treat.  I won these little wool creations on a giveaway.  They were generously donated as a prize from Playing Fair,   - a Fair Trade business.


And here's my other parcel - 1kg of beautiful Australian garlic, straight from the farm.  Check out Patrice Newell Garlic.  this was actually my birthday present to myself  ha ha!!  And I'm so happy.


I read somewhere (can't remember where) that you can freeze garlic cloves.  So I thought I'd give it a go.  This was 2 bulbs worth of garlic cloves, and that was enough - peeling garlic isn't the funnest way to pass the time.  I used some tonight though, and gee...how convenient is it to be able to pull out a clove of garlic ready to chop...loving it!  I just might get around to peeling some more some day soon.


Ho hum...are you still here?  Not bored yet?...There's plenty more...


Remember not so long ago, I learned how to crochet a dish cloth?  Well I've been busy crocheting some more - not today though!  As you can see, none of them are square, despite that being the objective !  I really don't mean to pick up and drop stitches so easily, it kinda just happens.  The last one I did was the best - the dark blue one with the border - its pretty square, so maybe I'm getting better...a few hundred more dish cloths and I might get it right...but then again who wants a boring square dish cloth anyway ?  These random shapes will still wash dishes.


This afternoon while Marlise slept, I sewed some gift bags...trying to do my part to be greener this christmas. 


And this is my little mermaid doll.  She's been waiting for some hair for about 6 months now, and today she finally got some.  She looks a bit awkward I know, I made a mistake with the pattern - cut it wrong, then I ran out of felt, but I still think she's pretty.


And my biggest project for the year - Marlise's doll.  I think she is so wonderful - quite proud of her I am!  I finished sewing her nappy today. 

So this was my wonderful day.  Wonderful because there was peace in my home, and I got lots of little things done.

Wednesday, December 14, 2011

christmas story continued...

I started telling my girls a simplified version of the Christmas story using my nativity figures.  Unfortunately I can't leave my nativity set up this year because some little fingers in our house are a bit too rough for my homemade nativity set.  Maybe next year??  I hope so, I miss not having it on display.  But I did take out the pieces yesterday to tell the story and the girls loved it - and I let them have a little play.


Joseph and Mary - with a baby in her tummy - had to walk a long way to go to Bethlehem to pay their taxes.  They took a donkey to carry all the things they would need on their journey.


When they arrived there was no room for them to stay anywhere, so they found a place in a barn with the animals.  Baby Jesus was born and they laid him in a manger.


The shepherds were in the fields looking after their sheep when the angels came down and told them a King had been born.


The 3 Kings came to visit baby Jesus, and brought with them gifts of gold, frankinsence and myrhh.

Ok, was that short enough? becuase by now my little girls were over listening to the story, and just wanted to play !!...and so we did...

...I love Christmas time...

Tuesday, December 13, 2011

how to make a sled for your stick reindeer


This little reindeer is ready to get to work!  He has a sled to pull, and a bright red nose to light the way...

See my previous post for instructions on how to make this cute little stick reindeer, and then read on to learn how to make the sled.


From your collection of sticks, cut 4 pieces which will be the length of your sled - you determine the size depending on the size of your reindeer. 
Then cut 2 pieces a bit shorter, and 2 pieces a bit longer.


Put a strip of hot glue along the length of the shortest sticks and glue them on top of the 4 like this, to hold them together.


Now glue your longest 2 sticks on top.


When the glue has set, turn it over, and you have a sled.


I glued a piece of ribbon around my reindeers neck and onto the sled, so it was all attached.


Here's one I finshed the other day to give away as a little Christmas gift, with a chocolate glued to his sled, this was one happy little reindeer !

To make it easier when I gave him away, I glued the reindeer and sled to a small piece of cardboard. 

Make lots of reindeer this Christmas !! 


Monday, December 12, 2011

especially for you Tiare...


Isn't this the prettiest little dress! Ruby loves it (almost as much as I do!)


Sunday, December 11, 2011

how to make a stick reindeer...


Isn't this the cutest little reindeer ??  I think it's a perfect little decoration for Christmas time...here's how you can make one too...


First, go for a walk to the park and collect a few sticks.  The biggest stick I collected was about 1-1.5cm in diameter for the body of the reindeer.  The smallest was the thin end of the stick where it branches out a little - those bits are your antlers.


The only equipment you'll need is something sharp to cut your sticks, and a hot glue gun.


Next step is to cut your sticks.  I always start with the body piece first, then cut the other pieces with sizes relative to the body - it's easier than you think !  The body piece for this reindeer is about 1cm in diameter and about 3 cm long.  You can make your reindeer any size you want.

Lay the pieces out like the above picture as you go ...so you will need a body, 4 legs, a head, neck, tail and 2 antlers.  Notice the diagonal cut on the front of the head - to accentuate the nose.


Ok, let's go...!  Put 2 blobs of hot glue on the bottom of the body piece...


and attach 2 legs.


Bare in mind that although the glue will set quite quickly, if you realize you've stuck something in the wrong place, you can easily peel the glue off and re-do it.


Do the same to attach the other 2 legs.


Then stand up your reindeer to check that the legs are even.  If not, peel off the 'dicky' leg and reset it!
 That's the hardest part - getting the legs even, but it's really not hard at all !


Now glue on the head and neck.  Make sure the neck is standing straight up - otherwise your reindeer might over balance when you glue the head on.

Keep the long end of the nose on the top side...


Finally add the antlers and the tail and voila! one cute little reindeer!!


Check back tomorrow for a post on how to make a sled for your reindeer, and a neat gift idea.

Have a wonderful day!


Tuesday, December 6, 2011

Frankincense and Myrrh...

The 3 Wise Men came bearing gifts og Gold, Frankincense and Myrrh
Have you ever wondered what Frankincense and  Myrrh are ?  I think I wonder what they are every christmas, but do nothing about it, then forget about it till the next christmas !  Well, the other day, I decided to finally find out, and I was pleasantly surprised - I would never have guessed what they are in a million years !

When the 3 wise men came to visit  baby Jesus, they came bearing gifts of Gold, Frankincense and Myrrh.

Both Frankincense and Myrrh come from the sap of trees.  Frankincense is a milky white resin (or sap) that comes from the Boswellia Tree.

frankincense2.jpg
Boswellia tree
The tree grows in areas of the Arabian Peninsula, East Africa and India, with the most aromatic species growing in Somalia, Oman and Yemen.  It can grow up to 5m in height.

Harvesters make cuts in the tree trunk to release the sap.  The sap oozes out and forms tear shaped droplets on the side of the tree which are left to harden for 2 weeks before being harvested.


Commiphora tree


Myrrh is a redish brown resin that comes primarily from a commiphora myrrha tree, common to Yemen, Somalia and Eastern Ethiopia, and is harvested in the same way as frankincense.

Both Frankincense and Myrrh are known for their frangrant qualities and have been used for thousands of years medicinally and religiously.  Frankincense was often burned as incense, and was used to make people smell better !  The  charcoal was also ground into a powder called kohl which was used by Egyptians as an eyeliner - interesting !  The rising smoke of frankincense symbolized prayers reaching to heaven, while Myrrh was commonly used in burials - particularly for embalming, and symbolizes death.  It was used for cleaning wounds and sores and used to treat gum disease, asthma, worms, coughs, colds and many other ailments.

The dried resin of myrrh and frankincense

 Both Frankincense and Myrrh were rare in Biblical times and therefore of great value. 

There is a lot more to learn about these 2 wonderful gifts from the wise men, but I'm happy knowing what they are for starters !  You could spend days reading all the information on the internet, and if you are so inclined - go for it - but I'm done, satisfied that I can explain to my 4 year old what these gifts to baby Jesus are, because for sure, she is going to ask sometime !


Friday, December 2, 2011

chocolate zucchini cake...


I just made this chocolate zucchini cake.  I used to make it a lot - the kids love it, but haven't done it for ages - or what seems like ages anyway...so today, it was time... I had a bag of zucchini's in the fridge and everything else in the cupboard. 
If you look closely  at the photo, you can see tiny specks of green - there's the zucchini !!

The recipe:

150 gr butter
200 gr sugar
1/4 tspn salt
3 eggs
100g melted chocolate
200g finely grated zucchini
100g ground almonds
150gr plain flour
1tspn baking powder

1. Cream butter and sugar
2. Add eggs one at a time and beat in well
3. Add cooled melted chocolate, and zucchini.  Mix well.
4. Add flour, baking powder, salt and almonds and mix well again.
5. Bake at 180 Celcius for 55 mins.

So good with fresh whipped cream and berries!!

Thursday, December 1, 2011

it's beginning to feel a lot like christmas...

Christmas Gnomes & Advent Calendars

It's the 1st of December, so today, in our house, it's going to start feeling like Christmas ! 

I dug out my trusty old advent calendar, and old it is...I made it for my twins 17 years ago - 17 years ago!  Oh my !  Thát makes me feel a bit old  he! he!  But hey, it's done it's job every year, and the kids have loved it every year.

I love my advent calendar

I had lots of fun making this all those years ago.  And I've had lots of fun trying to dream up age appropriate fun ideas of things to put inside each sock - aswell as some last minute headaches too ! 

This year I hadn't planned on putting it up - too lazy to get organized ??  Shame on me !  But then Ruby's uncle arrived a couple of days ago... he is taking her on a train in a couple of weeks to stay at her nana's until we get there for Christmas and she has been asking me every five minutes if she is going on a train in the morning (she is soooo excited - can you tell ??).  So my solution, for my sanity, was to put up the advent calendar to give her an idea of how many days it is until she goes on the train.  I made a little Christmas gnome to put in 'today's' stocking so she can see what day it is today...and every day she can move it to the next stocking.


Little Christmas peg gnome


Today is the1st of December - thankyou Christmas gnome !


...so the plan for tonight is to make a little marker with a train on the top and put that in the no. 13 stocking - that's when the train leaves, so each day she can see she is getting closer to THE DAY !!! - and she can stop asking me!

And....just seeing those little stockings hanging on the wall got me all excited about doing advent again...so luckily, we had a few lollies in the cupboard (thankyou uncle) so I snuck a couple into todays stocking, one for Ruby and one for Marlise - they were so excited it made it all worth while.  Tomorrow I will be more organized - no more lollies.


The Christmas Story

This is Mary and Joseph.  Marlise was intrigued.  This year, instead of putting out the whole nativity set, I've decided to tell the kids a little bit of the Christmas story at a time. 


Keeping it nice and simple...the story for this week is about the angel that came to Mary to tell her she was going to have a baby and his name would be Jesus.  I even stuffed some wool inside Mary's dress so she looks pregnant - the kids loved it.


Christmas Tree


Today, we decided to make a cardboard Christmas tree for Ruby to decorate. 
I'm quite pleased with my freehand tree - I expected it to be lopsided, but I was pleasantly surprised !  We made a colourful paper chain together and she stuck on bows and other shiney things and had a great time.  She's so proud of her tree.  I'll post another photo when we've finished decorating.


STOP ! Shower time...


It was stinking hot today, and so humid...only place to be is under a cold shower...


Community Christmas
Our local library put on a Christmas event for the kids this afternoon and it was awesome.  They made simple decorations to hang on the Christmas tree, sang carols and had a visit from Santa.  Was lots of fun.


Here's Ruby and Marlise hanging up their first decoration - 2 pipe cleaners, a red and a white, twisted together and hooked over on one end to make a candy cane - they looked so good !


 Ruby is making a felt Christmas pudding and glueing it on to a recycled curtain ring.  Such a neat idea !


Now it's looking like a christmas tree ! The kids were all so excited to hang their decorations up.  You can see them all here, candy canes, paper christmas trees, paper chains, christmas puddings, and there are also some wreaths.  Love it !


Marlise making her paper Christmas tree.


And now she's found a special place to hang it...  oh woops!  Just noticed it's a different colour to the one she made !! haha! how did that happen ?


When Santa came in to the room Marlise got scared and screamed out "no!"' - it was really funny - sorry my baby.  but it was all good afterwards when they gave out shortbread and red  cordial.

What are you doing to get ready fro Christmas this year?